LASDI©
Yep. I’m a New York Italian living in The Great State of Texas! But I don’t forget my roots, oh no! I try to incorporate my history and heritage into our meals from-time-to-time. I’m that Themer Girl, and that Chef Girl, and The Hubster typically eats whatever I put before him. But he asks for this one a bit more often than other January staples. (Not as much as those glorious chicken & dumplins, but that’s a recipe for another January!) I pair this chicken with freeze dried herbs in barley or some other white, comforting low glycemic grain, and some Tuscan-seasoned broccoli and it is the perfect balanced meal for a cold winter’s night! Cozy up by the fire with your sweetie, a glass of room-temp sauvignon (or some cocoa!) and this meal! See you in the Spring!
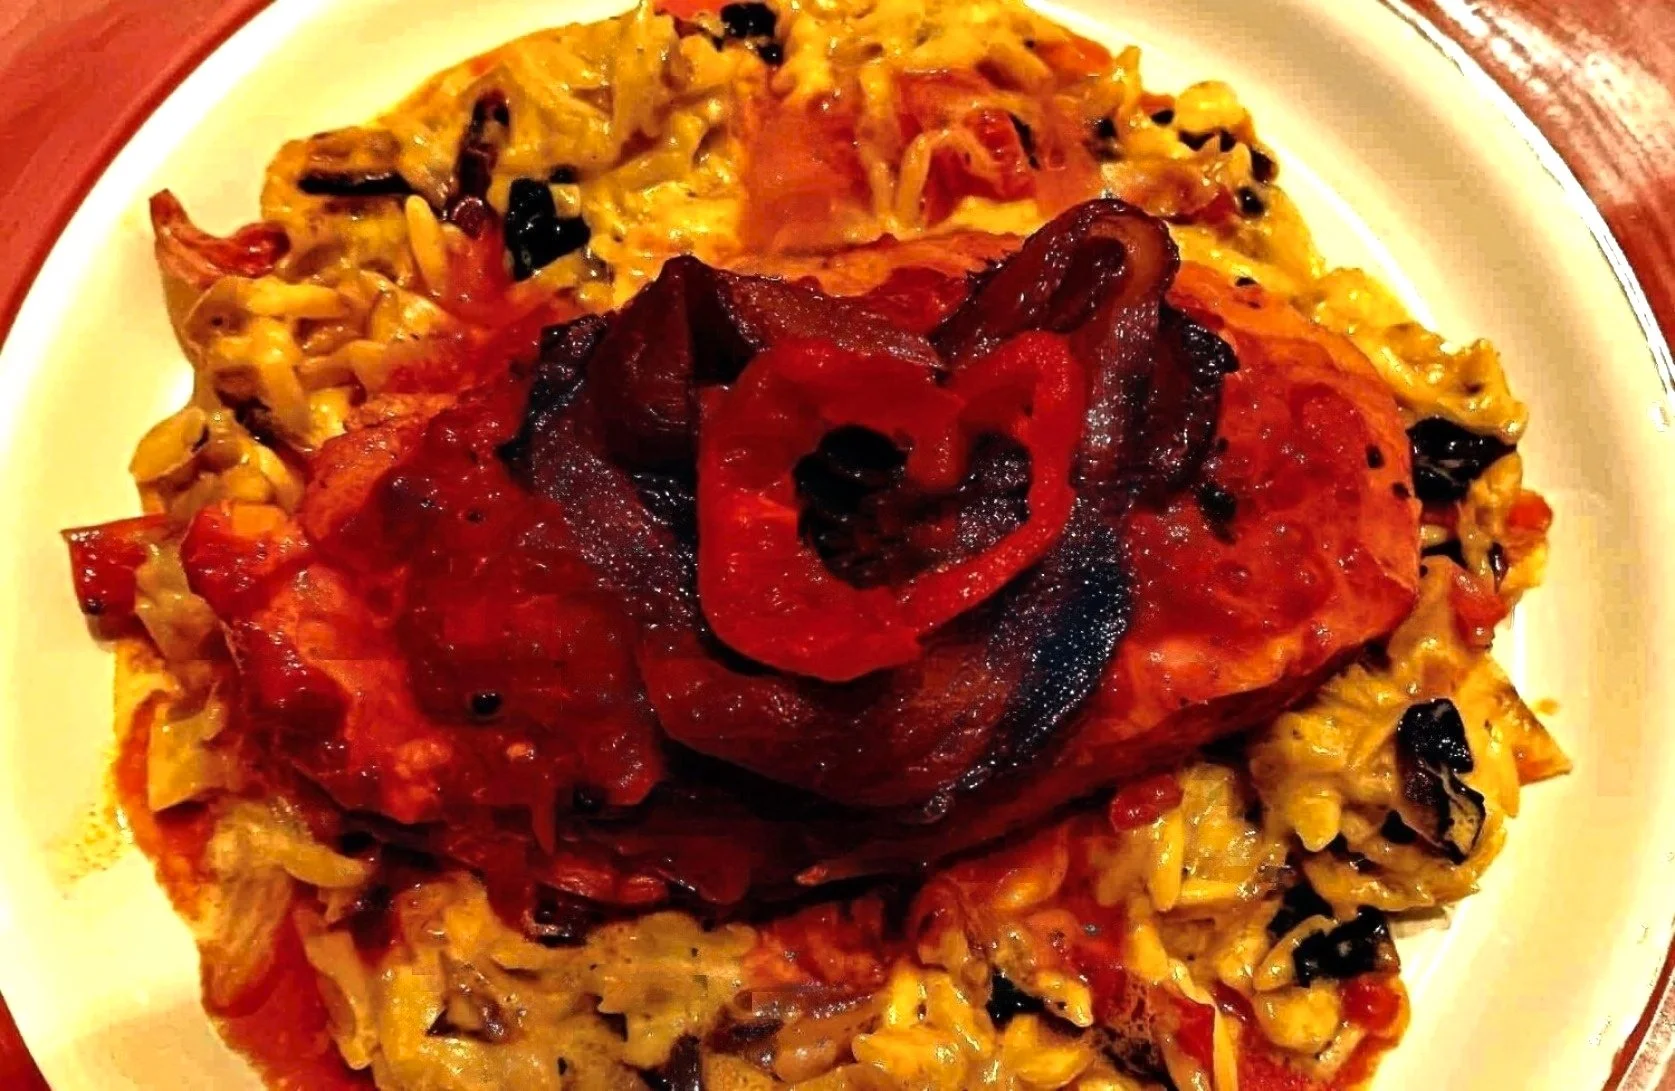
GARLIC BUTTER PARMESAN CHICKEN BREAST
4 chicken breasts
2 cups grated parmesan
1 stick butter, melted, sligtly cooled (see notes)
2 tbs minced garlic
black pepper, to taste (see notes)
Set oven to broil. Maker sure chicken is dry; if not, pat it with a few paper towels. (see notes) Mix all ingredients in a bowl and toss until chicken is well covered by the mixture. Place the chicken on a prepared baking sheet, making sure there is at least an inch betwixt each piece. Place under the broiler for 13 minutes. Let rest on a wire rack for 2 minutes before serving. (see notes) Eat up, enjoy, and stay warm!
NOTES: Make sure the melted butter is cooled enough that it doesn’t turn your parm into a stringy mess when mixing. I don’t use any salt in this recipe because I feel the parm is salty enough and I want to be able to enjoy the flavor of the cheese and the chicken itself. Making sure the chicken breast is dry ensures the coating sticks to each piece. Letting the cooked chicken rest on a wire rack helps the chicken rest and stay juicy without removing the parm coating from the bottom.